The Shutter Box Challenge
How inspiration from a shutter became custom window boxes.
OUTDOORS
High
Medium
10-12 Materials
10 Hours
Transforming a property find into custom window boxes? That's what I call a DIY twist of fate!
It all started with a chance encounter with some wooden shutters at a friend's place. Loving their Craftsman-style charm, I scooped them up with no real plan in mind and put them in storage.
How it started
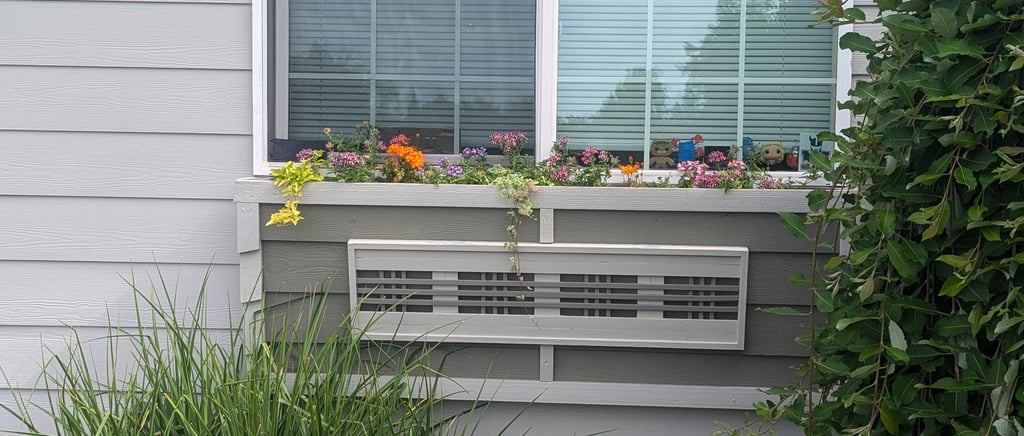
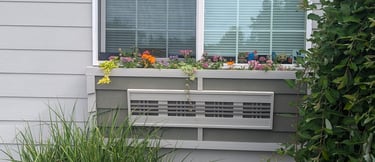
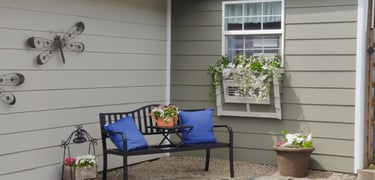
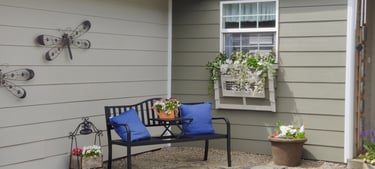
Fast-forward to a lightbulb moment the following summer when I decided to jazz up the front of my house with some curb appeal. Cue the birth of the "shutter box" window boxes! A quick trip to the local home improvement store for supplies, a splash of paint here and there, and voilà - three charming window boxes were born.
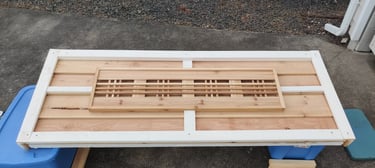
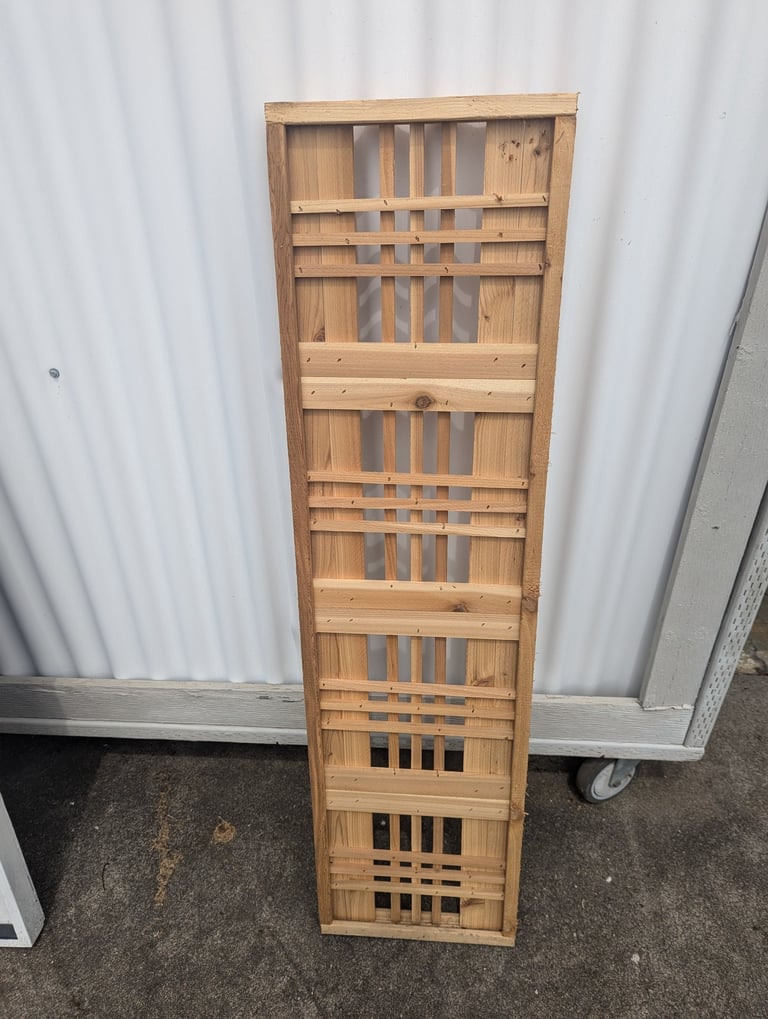
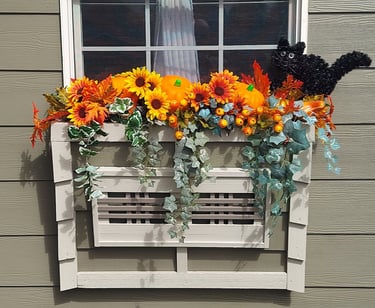
There is no backing on these, and you'll notice they angle down from the top in size (see side view). These are pretty much a frame build with 2x2's with cedar siding attached. You'll notice that the shutter had to be cut down in size in order to fit on the smaller of the three window boxes. Paint and installation with #10x3.5 outdoor wood screws and they were complete.

For the seasonal swaps of decor, I used a piece of drainpipe cut to just under the width of the box interior, and then drilled several holes in it to place seasonal decor. Add a carabiner to connect it on each side, and it's a perfect canvas for seasonal decor swaps. This year, we even went green with live plants perched inside rain gutters mounted inside.
Who knew a spontaneous snag could blossom into such a blooming success story!
Smaller of the three
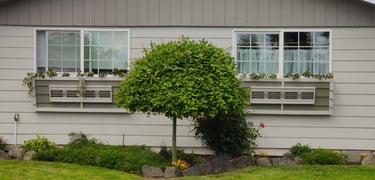
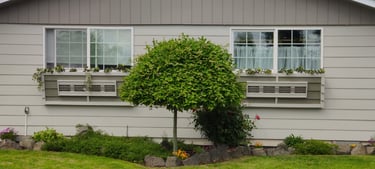
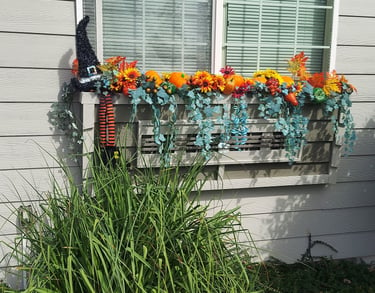
The two matching window boxes
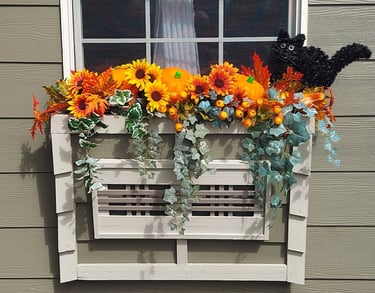
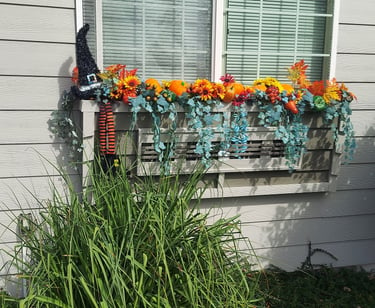
Seasonal Swap Out
Seasonal Swap Out
Materials
Lumber - quantities will vary depending on quantity and size of window boxes.
• Horizontal lap siding
• Primed outdoor wood trim boards
• 2x2 8ft cedar board1/2" finish nail or 1/2" brad nail
Deck screws #10 3.5 or 4" (for attaching to house)
Paint in a color that compliments your home
Tools
Eye protection (safety goggles)
10" combination miter saw or hand saw
Hammer or Brad Nailer (corded or cordless)
Impact Driver or Drill
Impact or Drill attachments
Project Wins
We were looking for something fun to do with the shutters and believe we found it.
They compliment our home and we love the look of them.
Project Fails

Being completely honest here, this is our first year with these where we are using live plants. We used a rain gutter attached inside and filled with soil and plants. Since our home faces south it has proven difficult to keep the live plants alive during the hot summer sun. We ultimately found a deal on Amazon and switched to artificial.
Kevin Gallaher is the owner of this blog, papapinterest.com. I have applied a skill level based on my own experience and provided minimal instructions on how to achieve a similar outcome. Please remember that this blog is for entertainment purposes only. With all the posts on papapinterest.com, be certain to read and understand the project before starting. Build at your own risk and be safe. We will not be responsible for any injury or damage incurred while following any post from our site. None of our posts should be considered expert advice, so please consult a professional when necessary. Be sure to read and understand all safety and instruction manuals, and take safety precautions seriously. All projects performed from posts found on our site are done at your own risk.
DIY Disclaimer